Weekly Schedule
Responsive weekly schedule template for event listing.
Projects /

Responsive weekly schedule template for event listing.
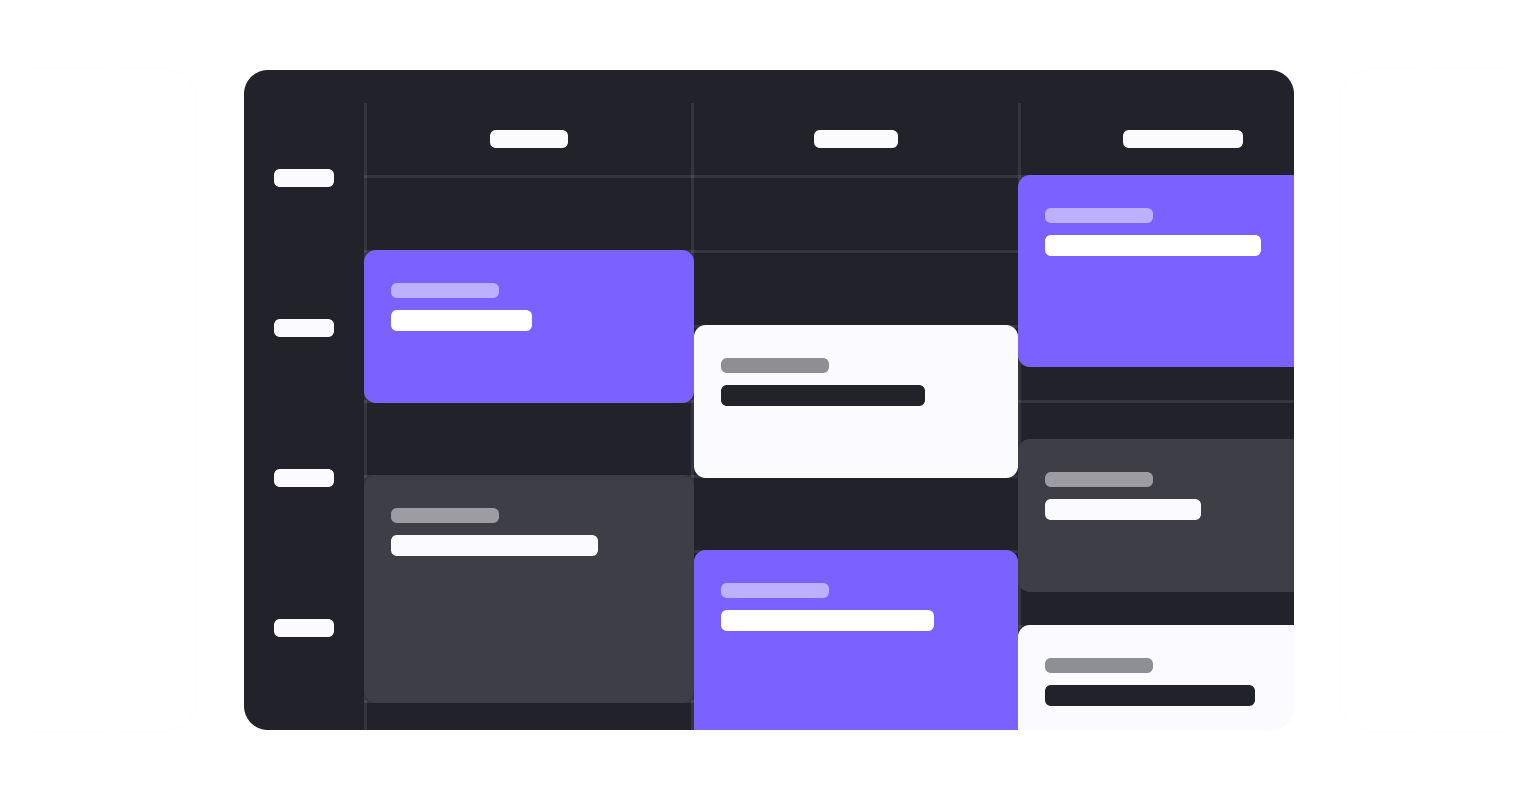
Our responsive Weekly Schedule Template is a versatile CSS, HTML, and JavaScript component, specifically designed to manage and display a week's worth of events in an engaging, user-friendly format.
With a single click, users can explore more about each event, providing an interactive experience that is bound to improve user engagement. The component dynamically adjusts to screen sizes - transitioning from a tabs layout on smaller devices to a table layout on larger screens at a medium breakpoint.
How to integrate this component into your next project:
First, you can initialize the component using the WSchedule object.
var wSchedule = document.getElementsByClassName('js-w-schedule')[0];
new WSchedule({
  element: wSchedule,
  searchData: function(target, cb) {
    // custom function used to retrieve the additional info about the selected event
    // target: this is the selected [aria-controls] element
    cb(data); // data is the HTML to be shown
  }
});
⚠️ Note that in the weekly-schedule.js, we do not initialize the WSchedule object.
On larger screens, all events are dynamically distributed on the table. The table height is determined by the time range and the height of each row in the table.
The time range is set on the .w-schedule element using the data-w-schedule-timeline data attribute:
<div class="w-schedule js-tabs js-w-schedule" data-w-schedule-timeline="09:00-18:00"></div>The row height is set in CSS using the --w-schedule-row-height custom property:
:root {
  --w-schedule-row-height: 50px;
}
The events are dinamically distributed, according to their datetime value, which indicates the starting time and the duration (i.e., the value after the letters 'PT' in the datetime attribute):
<a class="w-schedule__event js-w-schedule__event" href="#0">
  <time class="text-sm opacity-60% text-xs@md" datetime="09:30PT1H30M">
    <!-- content created in JS -->
  </time>

  <div>Abs Circuit</div>
</a>
If you need to show events after midnight, make sure to set, as end time in the data-w-schedule-timeline attribute, a value bigger than 24. For example, if you want your timeline to start at 09:00 and end at be 02:00 am, use 09:00-26:00.
The component comes with a 6-day template, from Monday to Saturday. However, you can easily update it to a 7-day weekly template with the following three steps:
.w-schedule__controls list, add a new list item;.w-schedule__days element, add a new section element;href attribute of the new list item in .w-schedule__controls is equal to the id of the section in .w-schedule__days.<ul class="w-schedule__controls js-tabs__controls" aria-label="Select day">
<!-- list items from Mon to Sat -->
<!-- ... -->
<!-- additional list item -->
<li class="w-schedule__control-wrapper">
<a class="w-schedule__control" href="#w-schedule-sun">
<div>Sun</div>
<div>17</div>
</a>
</li>
</ul>
<div class="w-schedule__days js-tabs__panels">
<!-- sections from Mon to Sat -->
<!-- ... -->
<!-- additional section -->
<section id="w-schedule-sun" class="w-schedule__day js-tabs__panel">
<div class="w-schedule__col-label">Sunday</div>
<p>No classes on Sunday 👏</p>
</section>
</div>The events are dynamically distributed on an hourly grid. This grid is automatically created in JavaScript inside the .w-schedule__grid element. The size of the grid (i.e., the height of each row in the table) is controlled by the --w-schedule-row-height custom property:
:root {
  --w-schedule-row-height: 50px;
}The style of the events in the schedule template is controlled using the .w-schedule__event--{n} CSS classes. These classes are used to set the color, background color and border color of the events:
.w-schedule__event--1 {
  background-color: hsl(27, 87%, 70%);
  border-color: hsl(27, 87%, calc(70% * 0.8));
  color: hsl(230, 13%, 9%);
}

/* ... */Each event is linked to the modal window using the aria-controls attribute (to target the modal template).
<a class="w-schedule__event w-schedule__event--1 js-w-schedule__event" href="#0" aria-controls="w-schedule-modal-id">
  <time datetime="09:30PT1H">
    <!-- content created in JS -->
  </time>

  <div>Abs Circuit</div>
</a>
By default, the modal content is a skeleton element, a placeholder visible while the event content is being loaded.
You are free to customize both the skeleton and the structure of the event content.
This is an example of the structure we use for the event content in our demo:
<a class="w-schedule-modal__figure" href="#0">
  <img src="img-url.jpg" alt="Image description">
</a>

<div class="w-schedule-modal__body">
  <!-- description and additional info about the event here -->
</div>When initializing the WSchedule object, you should pass the searchData option. This is the custom function used to retrieve the info about the selected event (e.g., a call to a database).
For example, if the additional info is stored in a different file for each one of your events, your searchData would be something like:
new WSchedule({
  element: wSchedule,
  searchData: function(target, cb) {
    // this assumes you set, for each [aria-controls] element, a data-w-schedule-url equal to the file path where the info are stored
    var eventInfoPath = target.getAttribute('data-w-schedule-url');
    var xhttp = new XMLHttpRequest();
    xhttp.onreadystatechange = function() {
      if (this.readyState == 4 && this.status == 200) {
        // the ajax call was succesfull -> call the callback function (cb) passing the response text as argument
        cb(this.responseText);
      }
    };
    xhttp.open("GET", eventInfoPath, true);
    xhttp.send();
  }
});
